Translating WordPress themes is actually very easy. Yes, no matter who you are, no matter what you do, no matter how much computer knowledge you poses, you can translate a WordPress theme. It’s real easy and now with the help of some screenshots and some simple guidelines you’ll have your theme translated in no time. So without further ado let’s get on with it.
Step 1 – Download Poedit
While there are other programs as well, for the sake of clarity and simplicity we’ll just go with the one we use – Poedit. It’s free and you can download it from here. Then install it. That’s easy too. Just click next. Then … next. Then finish. And you’re done.
Step 2 – Find the Pot… file
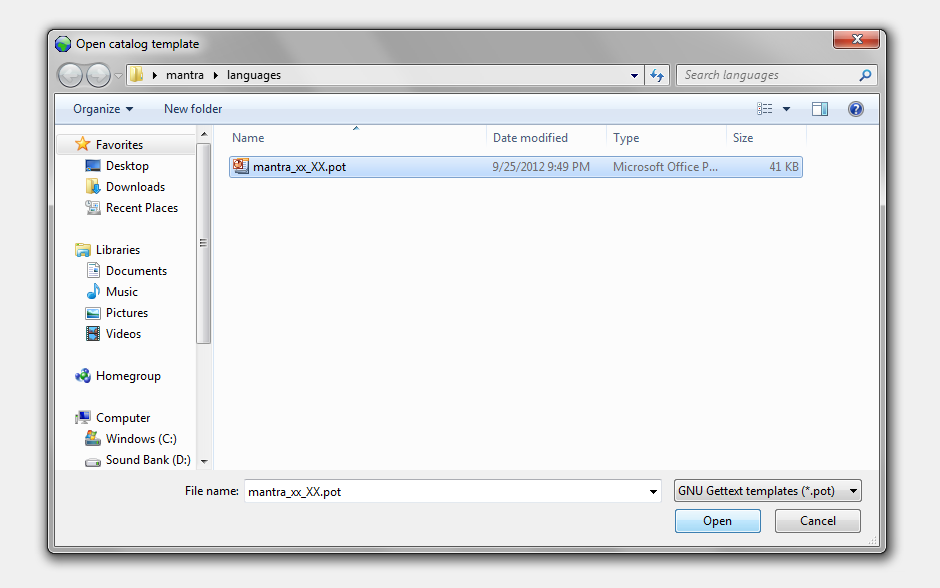
The .pot file contains all translatable text from a theme and should be provided by the theme’s authors. Check to see if the theme in question has a /languages/ folder. If it does look inside it and and you should see the .pot file right there. If not, you could ask the theme authors to give it to you. If they’re @#$@#s you can create it yourself from the theme files. There’s this simple tutorial from WordPress on how to create a .pot file.
By the way Mantra has a .pot file in the languages folder. So no need for all that.
Step 3 – Translate the theme
- Open up Poedit
- Go to File -> New Catalog then select the .pot file
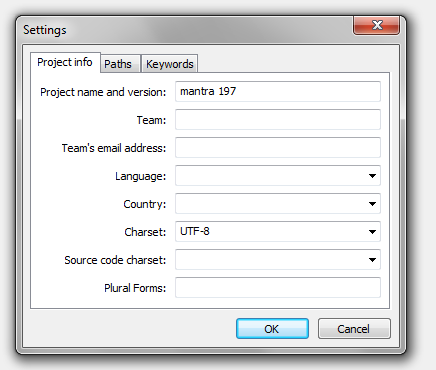
- A new window will pop up asking you some information. It’s all optional so fill in what you’d like then click OK.
- Yet another window will ask you where and with what name to save your new .po and .mo files.
You should name the files according to your language code. Have a quick look here to see your language code. Type the language code and click save.
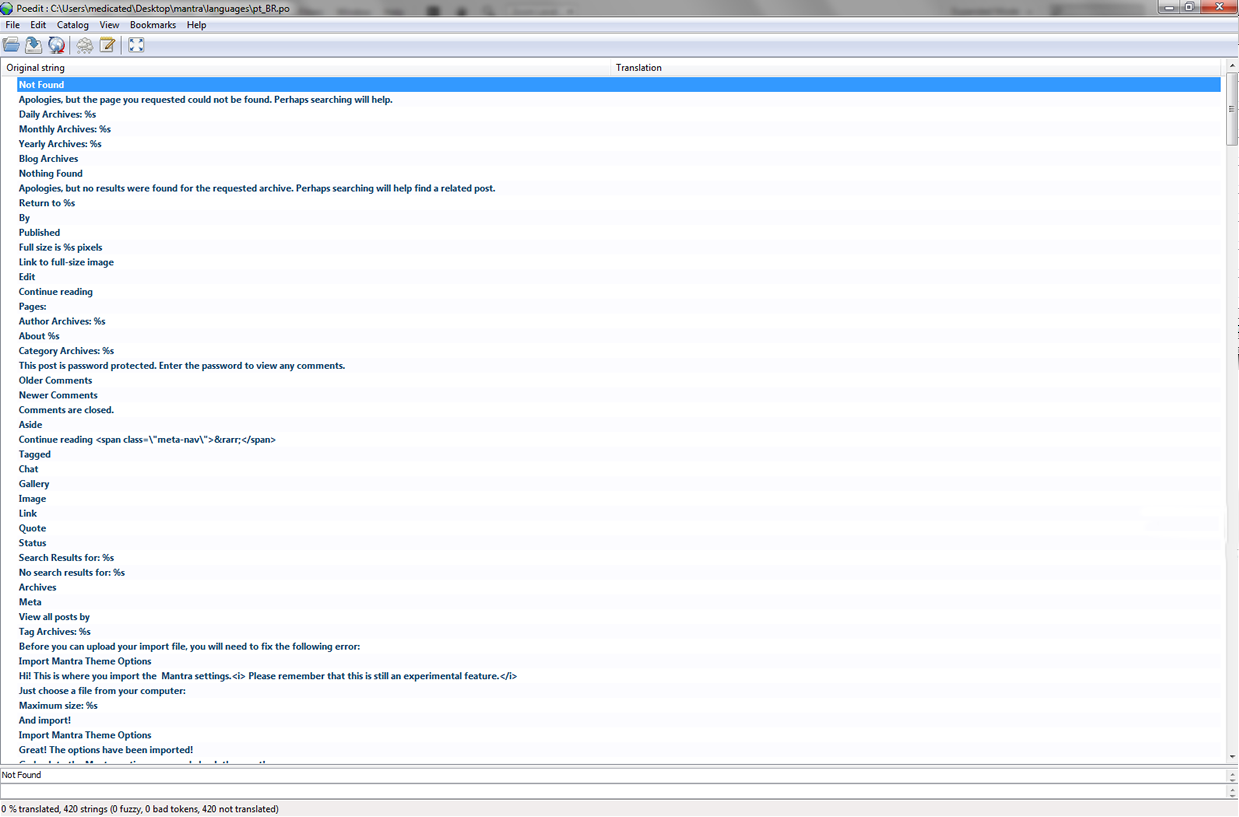
Finish all your translations and save. Both the .po and .mo files should be created now.
4. Tell WordPress to use your new language files
If the theme has a /languages/ folder (and Mantra does) upload both the .mo and the .po files there. Check once more that they are named accordingly.
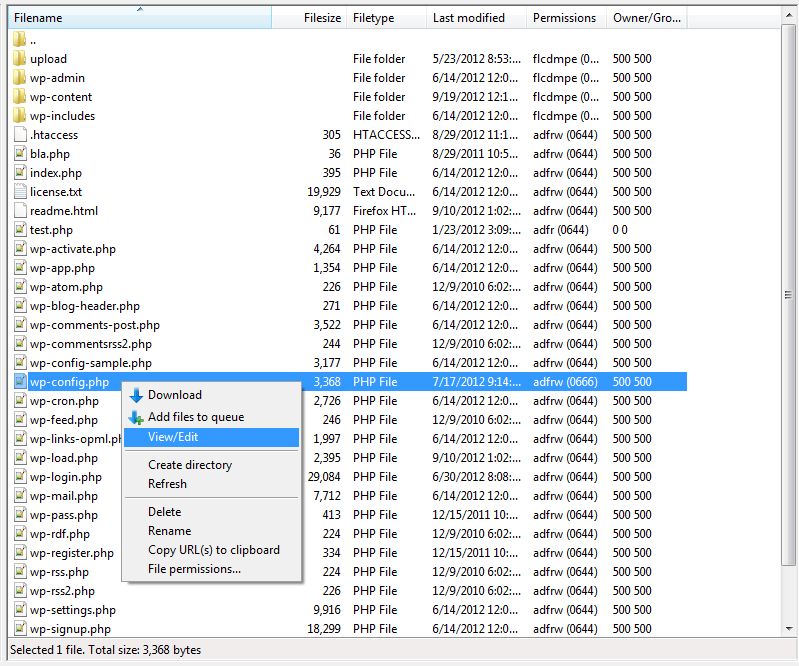
Now go to the root folder (main directory) of your WordPress installation and look for a file called wp-config.php.

Open it then look for this particular line:
define ('WPLANG', 'en_EN');
You should change the en_EN (or whatever code you find) with your language code. For example if you translated to french and your language code is fr_FR then that code should be:
define ('WPLANG', 'fr_FR');
Save and close the file.
5. Yoyos havanos justos translatido uno WordPress thema!
There isn’t really a step five unless you wanna consider tapping yourself on the back and congratulating yourself on a job well done as a step. The theme is now translated and you can check it out. Go ahead, take a look at your new translated theme and verify that your new text looks good and matches context both on the live site and in the theme settings page (if the theme has such a page and Mantra does).
If you reached step 5 and you’re not clapping your hands in joy, leave a comment below and we’ll guide you there.
PS: To avoid all the off-line file editing, one can use the Codestyling Localization plugin and do the actual translating straight from inside WordPress dashboard.


